Walkthrough - Getting Started Creating Your Own Maven Repository
Setting up your own Maven repository has never been easier. MyGet allows you to create your own public or private Maven repositories in just a few clicks. This section will guide you through it.
Creating a new MyGet feed
Browse to MyGet.org and log in using your preferred identity provider. We currently support Microsoft Account, Google, GitHub, Facebook, StackExchange and OpenID.
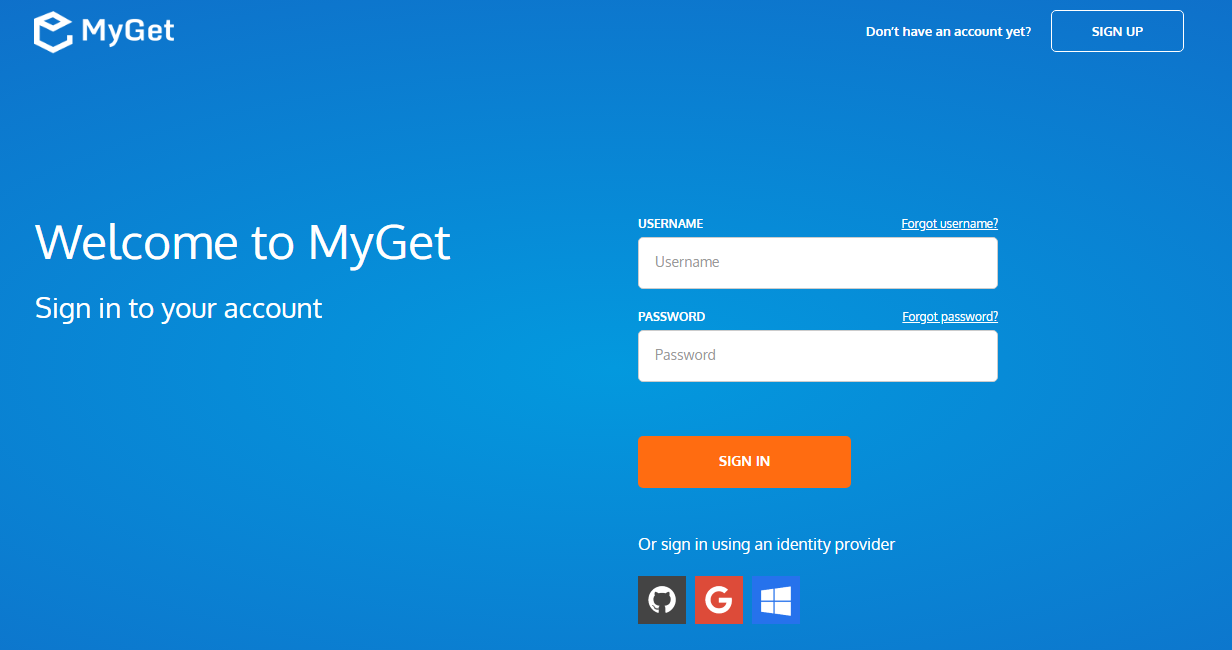
Complete your new MyGet profile by providing a username and password. These are your MyGet credentials, which you'll need to authenticate against private feeds on MyGet.org. From now on, you can also use these to log in on the MyGet.org web site.
Create a new feed (our name for a repository) and select the desired security template: public, private or community
- public: everyone has read access, only feed owners/managers can write
- private: only users with explicitly granted permissions can read or write (depending on permissions)
- community: everyone can read all packages + anyone can manage the packages they pushed to the feed
(optional) Invite collaborators through the feed security settings.
Working with your Maven repository
Register the repository with Maven
For public and community repositories, there's no need to add authentication details. For private repositories or to publish packages using mvn deploy, make sure to add your username/password or username/access token in ~/.m2/settings.xml.
<settings>
  <servers>
    <server>
      <id>MyGet</id>
      <!-- only needed for private feeds or when deploying artifacts to the feed -->
      <username>MyGet-username</username>
      <password>MyGet-password-or-access-token</password>
    </server>
  </servers>
</settings>
Register the repository URL in the project's pom.xml file by adding a repository element:
<project>
  ...
  <repositories>
    <repository>
      <id>MyGet</id>
      <url>https://www.myget.org/F/your-feed-name/maven</url>
    </repository>
  </repositories>
  ...
</project>
If you plan on publishing packages using the mvn deploy command, make sure to also add the distributionManagement element. Note that this will require authentication details to be added in ~/.m2/settings.xml as well.
<project>
  ...
  <distributionManagement>
    <repository>
      <id>MyGet</id>
      <url>https://www.myget.org/F/your-feed-name/maven</url>
    </repository>
  </distributionManagement>
  ...
</project>
Register the repository with Gradle
Edit the build.gradle file and add the URL to your MyGet Maven repository.
For public and community repositories, there's no need to add authentication details. For private repositories or to publish packages using gradle publish, make sure to add your username/password or username/access token.
repositories {
  maven {
    credentials {
      username 'MyGet-username'
      password 'MyGet-password-or-access-token'
    }
    url 'https://www.myget.org/F/your-feed-name/maven'
  }
}
If you plan on publishing packages using the gradle publish command, make sure to also add the distributionManagement element. Note that this will require authentication details to be added in build.gradle as well.
apply plugin: 'maven'

uploadArchives {
  repositories {
    mavenDeployer {
      repository(url: "https://www.myget.org/F/your-feed-name/maven") {
      authentication(userName: "MyGet-username", password: "MyGet-password-or-access-token")
    }
    pom.project {
      name 'ProjectName'
      packaging 'jar'
      description '....'
      url '....'
      licenses {
        license {
          name 'The Apache Software License, Version 2.0'
          url 'https://www.apache.org/licenses/LICENSE-2.0.txt'
          distribution 'repo'
        }
      }
    }
  }
}
Next steps
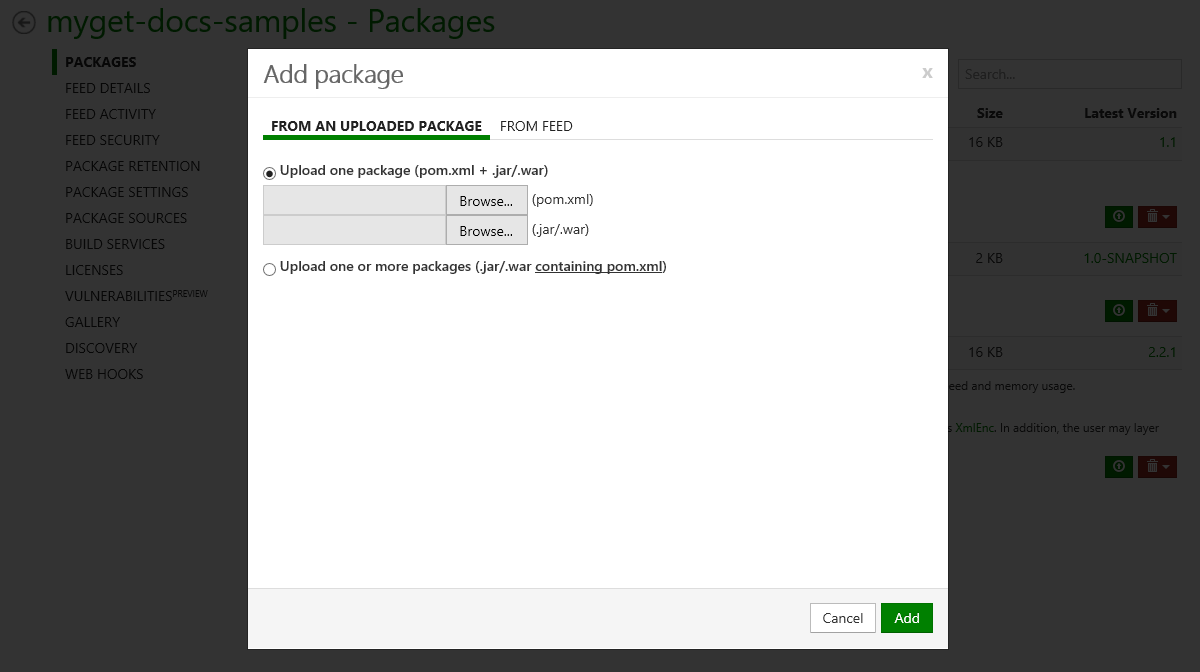
Add packages to the feed by either uploading them through the web site, referencing/mirroring them from the Maven Central repository, or publishing them using
mvn deploy.On each feed, packages can be added through the web UI.
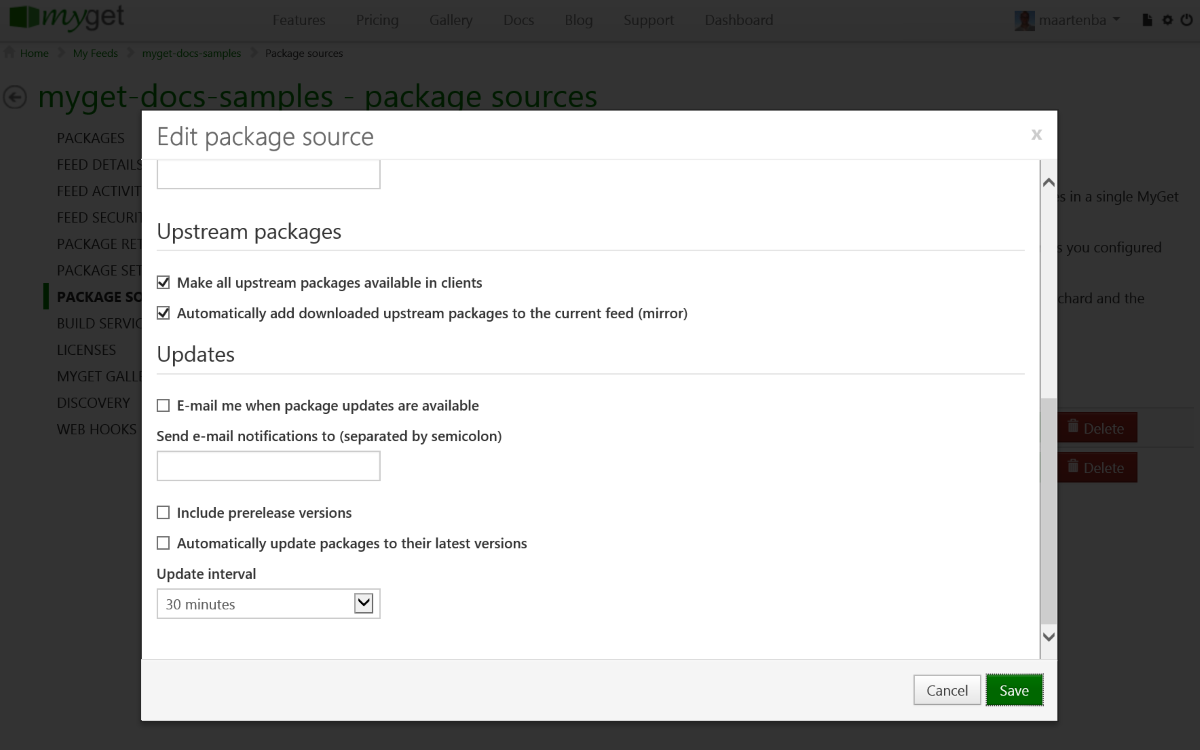
(optional) Enable upstream source proxy to seamlessly blend your MyGet feed with the Maven Central repository.
From the Upstream Sources tab, edit the Maven Central upstream source and enable the Make all upstream packages available in clients option. If you prefer to have the package binaries downloaded to your feed for subsequent requests, also enable the Automatically add downloaded upstream packages to the current feed (mirror) option.
Note that using these settings it's also possible to blend more than one Maven repository into one. You can also push Maven packages to other Maven registries using MyGet
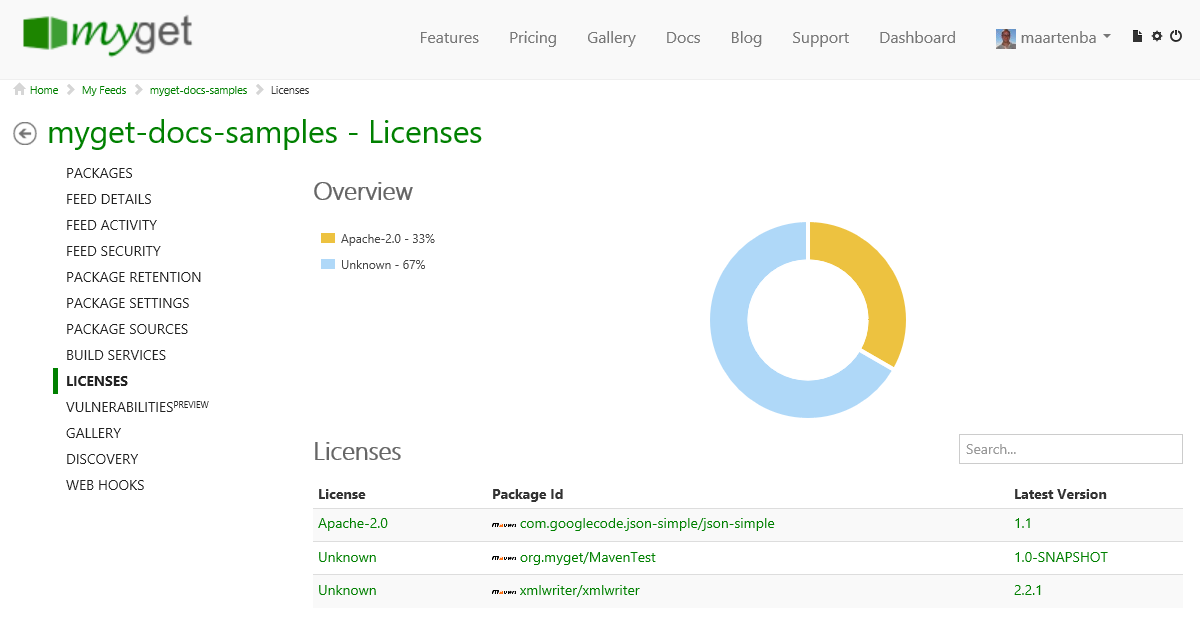
(optional) Check the licenses of the packages on your feed using the licenses tab. This will display a report of the licenses used by the packages on your Maven feed.
Read our contribution guidance or edit this page's source on GitHub.