Auto Trigger a MyGet Build using an HTTP POST Hook URL
In addition to manually triggering a Build within the MyGet User Interface, it is also possible to automatically trigger a Build every time code is pushed to your Source Control Repository, by making use of an HTTP POST Hook URL.
Note: When adding a build source from GitHub, BitBucket or Visual Studio Team Services, we automatically create a service hook trigger for you. Except if you disable this when linking a source code repository to MyGet, the hook has already been created and there is no need to do this again.
What is an HTTP POST Hook URL?
Once you have fully configured a Build Source for your MyGet Feed, you will be able to manually trigger a build whenever you like. However, if you are trying to adopt the Continuous Integration Software Development Practice, then automatically triggering a MyGet Build whenever you push some code changes to your Source Code Repository is one of the first steps in doing this.
The HTTP POST Hook URL is a mechanism to allow your Source Code Repository to notify the MyGet Build Service (via an HTTP POST to the given URL) when a commit has been pushed. As soon as this has happened, a MyGet Build will be added to the Build Queue, which will then go and grab the latest code from the Source Code Repository, and execute the Build.
Note: MyGet Build Services has a 5 minute cooldown period between builds during which you can't trigger a build, manually or otherwise. Please contact MyGet support for more information about our dedicated Build Services offering to avoid this cooldown period.
Where can I find the HTTP POST Hook URL?
When you are logged into MyGet, browse to the Feed that you would like to configure, and select Build Services (you can find the link on the left hand side of the screen). This will take you to a page which looks similar to this:
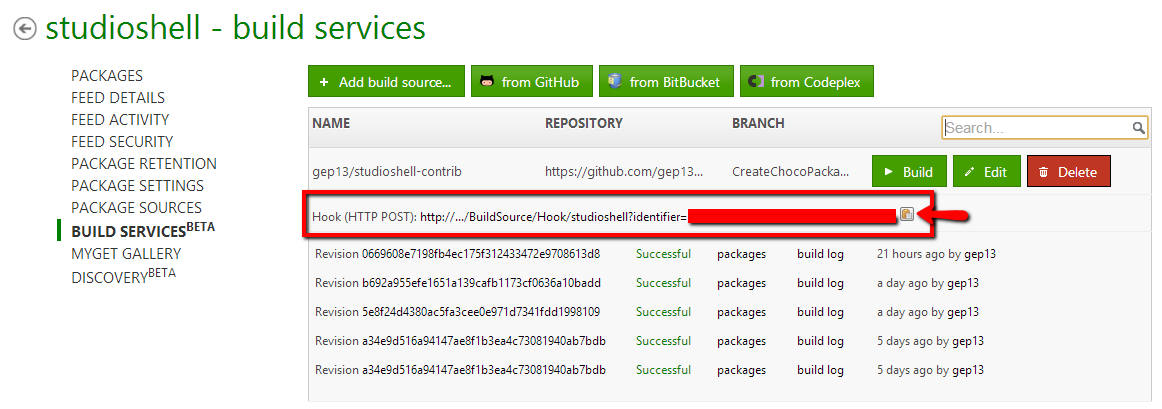
The HTTP POST Hook URL is clearly visible on this page (the GUID at the end of the URL has been obscured simply because this is unique to each Feed). Click the copy button (indicated by the arrow) to grab the URL ready for adding into your Source Code Repository.
Setting up GitHub
Note: When adding a build source from GitHub, we automatically create a service hook trigger for you. Except if you disable this when linking a souce code repository to MyGet, the hook has already been created and there is no need to do this again.
We recommend using alternate API keys for every sync relation.
The following 6 steps provide information about how to use the MyGet HTTP POST Hook URL within a GitHub Repository.
- Log into GitHub and navigate to the repository that is to be configured
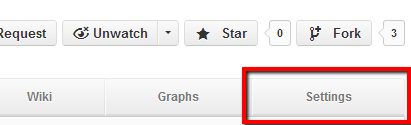
- In the top right hand corner of the page, click the Settings button
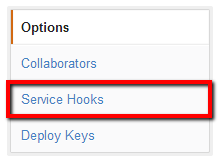
- Within the Settings page, click on the Service Hooks button, located down the left hand side of the page
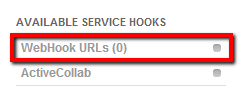
- Within the Service Hooks page, click on the WebHook URLs link
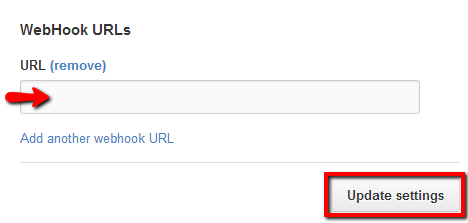
- Using the form that appears, paste in the HTTP POST Hook URL that was copied from MyGet above into the URL field and click the Update settings button. Make sure to select the application/vnd.github.v3+json hook type!
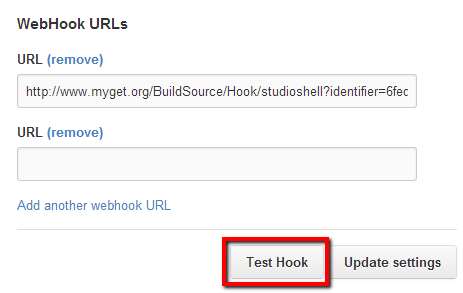
- To verify that this has been set up correctly, you can then click the Test Hook button. Doing this should trigger a Build straight away within MyGet.
Setting up Bitbucket
Note: When adding a build source from BitBucket, we automatically create a service hook trigger for you. Except if you disable this when linking a source code repository to MyGet, the hook has already been created and there is no need to do this again.
The following 6 steps provide information about how to use the MyGet HTTP POST Hook URL within a Bitbucket Repository.
- Log into Bitbucket and navigate to the repository that is to be configured
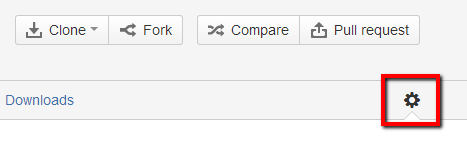
- In the right hand corner of the page, click the Settings button
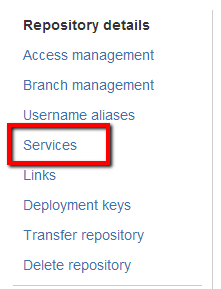
- Within the Settings page, click on the Services link, located down the left hand side of the page
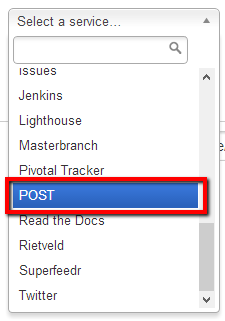
- Within the Services page, find the POST option within the Select a service... drop down list, and click the Add Service button
- Using the form that appears, paste in the HTTP POST Hook URL that was copied from MyGet above into the URL field and click the Save button

- At this point in time, there is no automatic way of testing to ensure that the URL that you have entered works correctly. In order to achieve this though, you can follow the Troubleshooting Bitbucket Service page on the Atlassian Wiki. In addition, make sure to add comments on the issue that has been raised to add this feature to Bitbucket to show that it is popular.
Setting up CodePlex
The following 6 steps provide information about how to use the MyGet HTTP POST Hook URL within a CodePlex project.
- Log into CodePlex and navigate to the project that is to be configured
- In the right hand corner of the page, click the Settings link

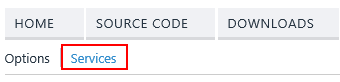
- Within the Settings page, click on the Services link, located at the top of the page
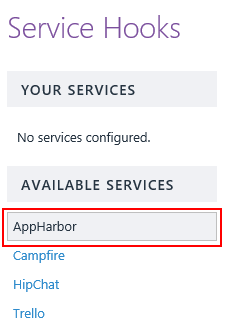
- Within the Services page, click the AppHarbor option on the left (yes, this is a trick)
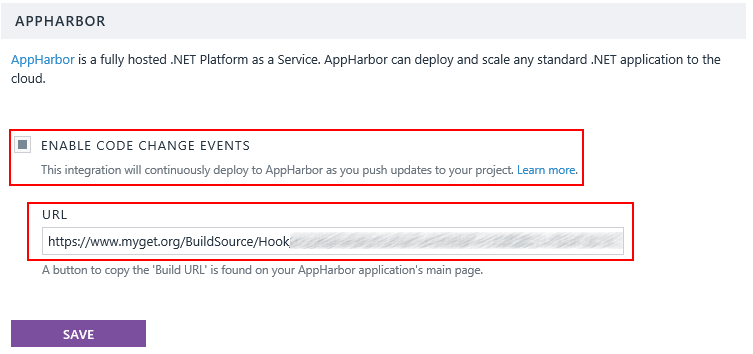
- Using the form that appears, check the Enable code change events option and paste in the HTTP POST Hook URL that was copied from MyGet above into the URL field and click the Save button
- At this point in time, there is no automatic way of testing to ensure that the URL that you have entered works correctly other than commiting code to your CodePlex repository.
Read our contribution guidance or edit this page's source on GitHub.